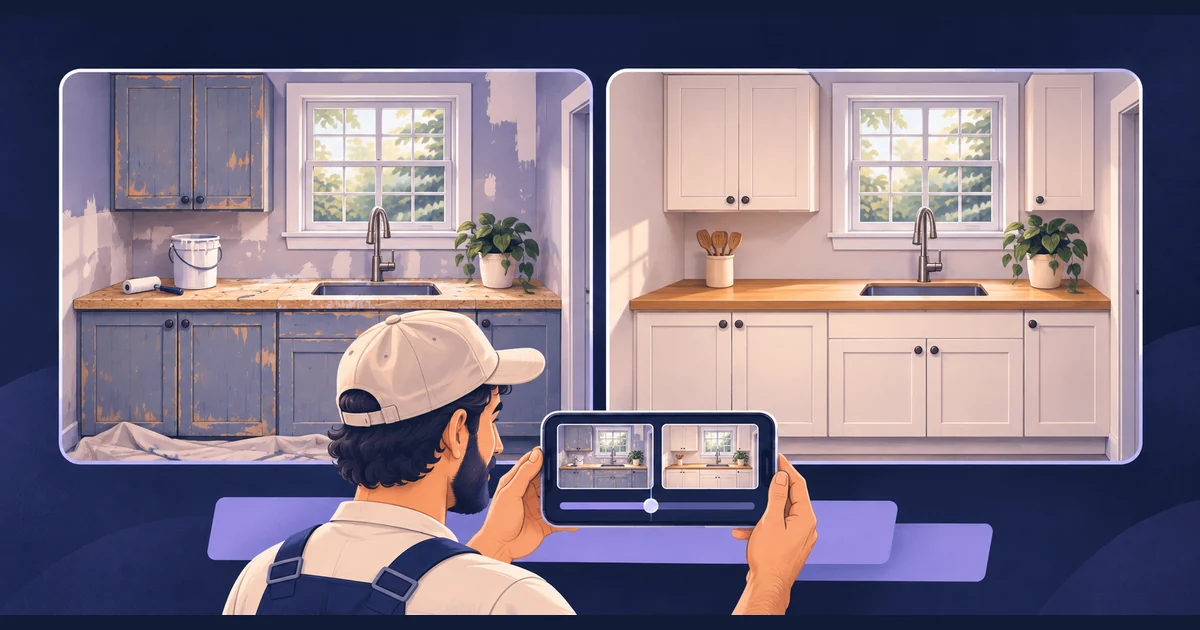
A good before-and-after renovation video makes the change easy to see. Show the same part of the room before and after the work, add a few details that explain the improvement, and leave viewers enough time to compare.
For contractors, kitchen fitters and interior designers, this is a useful way to make marketing videos with AI from material already collected on site. In Tellers, you give our editing agent the photos and recordings, describe the finished video, then refine the editable timeline by prompting.
Find the comparison before building the montage
Start with one project and one clear transformation: a kitchen refit, a bathroom renovation or a restored staircase. Gather the original photos, work-in-progress clips and finished footage into separate folders. Name files by room, stage and viewpoint, such as kitchen_before_doorway.jpg and kitchen_after_doorway.mp4.
Choose a recognisable anchor that survives the renovation: a window, doorway or corner. The best pair shows that anchor from roughly the same position. A close-up of an old cupboard followed by a wide shot of the finished room makes viewers do extra work to understand the change.
For future projects, save a reference frame on your phone and repeat its camera position, height and lens when filming the result. For existing mismatched footage, use separate labelled shots instead of forcing a seamless transition. A modest crop can help; it cannot restore a viewpoint you never recorded.
Ask our agent to suggest the strongest pairs first:
Review the kitchen renovation assets. Find before-and-after pairs
showing the same area from similar viewpoints. Use the window and
doorway as anchors. List the source filenames and explain what
changed in each pair. Flag views that do not match well.
Our scene-description tools help the agent understand the footage. You supply the project facts: what was replaced, what was retained and which finished details deserve attention.
Give a short edit a useful structure
For a 30-second kitchen video, try this starting structure:
| Section | What to show | What it tells the viewer |
|---|---|---|
| First 5 seconds | Original kitchen, clearly labelled | The starting point |
| Next 6 seconds | Two brief clips of the work | How the change happened |
| Next 12 seconds | Matching finished view, then two details | The result and the workmanship |
| Final 7 seconds | Finished wide shot and contact line | Who did the work and the next step |
Let the reveal hold longer than the setup. A viewer should be able to inspect the new cabinets or storage layout, not just register a flash of a different room. Choose details with a purpose: a drawer opening explains storage better than three similar shots of its handle.
Use the actual project records for captions. “New cabinet fronts and worktop” is useful when that is what changed. Avoid inventing a completion time, budget or increase in property value from the images.
Prompt Tellers to build the video
Once you have chosen the comparison, ask our agent to assemble it:
Make a 30-second vertical before-and-after kitchen renovation video
from these supplied photos and clips. Use the approved doorway pair.

Open with the original kitchen and a small "Before" label. Show two
work-in-progress moments, then cut to the matching finished view
with "After". Hold that view long enough to compare. Follow with
the drawer opening and worktop detail, then our supplied contact card.

Use only the real project material. Keep room proportions and finish
colours faithful. Add our approved captions and quiet background
music. Keep text editable and show me the first cut before export.
You can make this entirely from still photographs if that is what you have. Ask for restrained movement over the images and simple cuts. Generating a fictional intermediate construction stage would change the nature of the video: it would illustrate a transformation rather than document the job you completed.
Refine the comparison, then reuse the format
Watch the first cut without sound. Can you identify the same room? Does the reveal show the part that changed? Is the caption covering the finish you want people to notice?
Make specific requests: “Keep the window in the same position across the cut,” “Hold the finished wide shot two seconds longer,” or “Replace the second worktop close-up with the drawer opening.” This is vibe editing: direct the result in ordinary language while keeping control of the edit.
For the next job, reuse the approved structure and caption style through agentic editing, but select new comparison shots. If your material is a regular sequence of site photographs, our photo timelapse guide covers showing progress over time.
Create your renovation video in Tellers. Start with one room whose transformation speaks for itself.
Frequently asked questions
Can I make a before-and-after renovation video from photos only?
Yes. Upload the before and after photos to Tellers and ask for an editable video with clear labels, restrained movement and enough time to compare the room. Use matching viewpoints wherever possible; work-in-progress footage is optional.
What if my before and after shots were taken from different angles?
Look for a shared feature such as a window or doorway to help viewers recognise the space. If the views differ too much, show separate labelled shots instead of forcing a seamless transition. A crop can improve the comparison, but it cannot recreate a missing camera angle.
How do I edit a renovation video with AI without changing the actual result?
Ask Tellers to use only your real project photos and footage, preserve room proportions and finish colours, and use approved captions. You can prompt changes to shot order, timing, labels and music without generating a fictional room or construction stage.