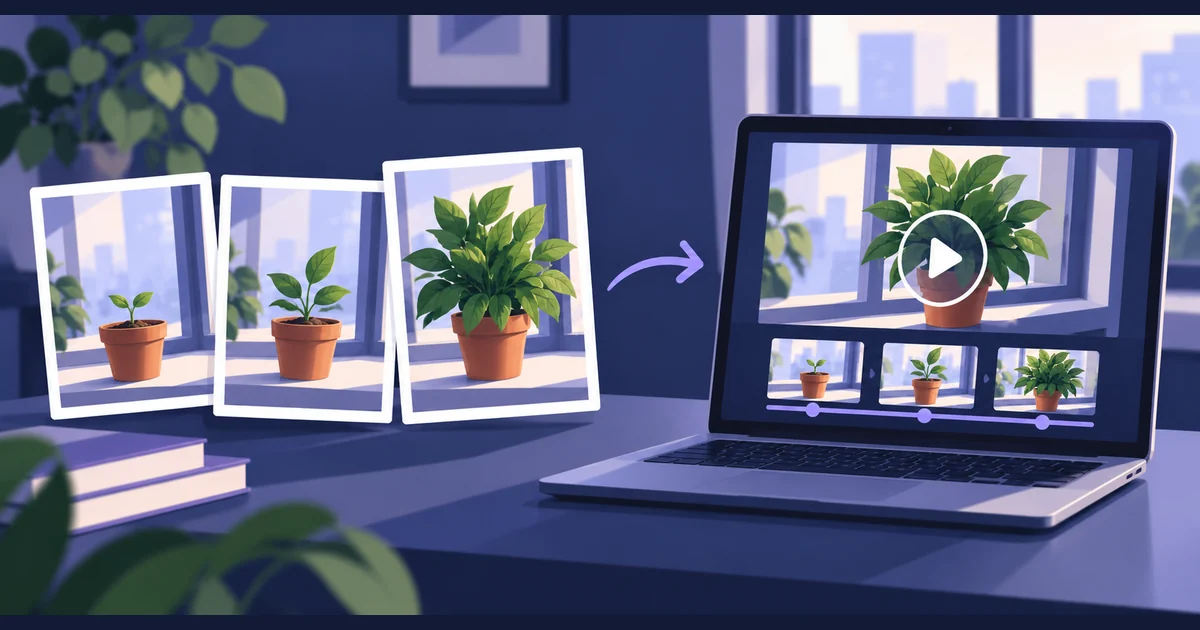
A folder of progress photos can tell a story that is hard to see one image at a time: a plant growing, a painting taking shape, or a room being renovated. A timelapse puts those changes into motion by playing the pictures in sequence.
The free Tellers photo timelapse maker turns JPEG, PNG and WebP images into a silent MP4, directly in your browser. You choose the image order, speed and framing. No account or media upload is required.
Turn your photos into an MP4
- Open Photos to MP4 Timelapse and choose a folder or select your images.
- Set Sequence order to ascending for the normal progression, or descending to play it backwards.
- Choose Timelapse speed · photos per second. Start at 24 for a dense sequence, or lower it if the result would be too short.
- Choose 720p or 1080p, then select Fit entire photo to retain the edges or Fill frame to crop them.
- Process the sequence and download the MP4. Watch the result before adding it to a larger edit.
Use a current Chrome or Edge browser with WebCodecs encoding support. Try a small selection first if you have a large folder. The output is landscape, at 1280 × 720 or 1920 × 1080.
Choose speed from the duration you want
Each photo becomes one frame. The calculation is simple:
Video duration in seconds = number of photos ÷ photos per second.
For a sequence of 240 images:
| Photos per second | Finished duration | What changes |
|---|---|---|
| 12 | 20 seconds | More time to see each stage |
| 24 | 10 seconds | The same sequence plays twice as fast |
| 30 | 8 seconds | A shorter view of the same progress |
These are playback choices, not recording intervals. If you took one photo every minute, the tool does not hold each image for a minute. It also does not use EXIF timestamps to recreate gaps between photographs.
For example, 30 daily plant photos played at 24 photos per second last just 1.25 seconds. At 2 photos per second, they last 15 seconds. That slower version will look like a succession of stills, which may be exactly what you want for a progress record. It will not invent the growth between photographs.
When you want each image to stay on screen for several seconds with its own caption or transition, make a slideshow in an editor instead. This tool is designed for one image per frame, with a speed range of 1–60 photos per second.
Put the sequence in the right order before exporting
The tool uses natural filename sorting: photo1, photo2, photo10. It does not decide the chronology by looking at the subject.
Keep one sequence in one folder with consistent names, such as plant_001.jpg, plant_002.jpg and so on. Folder paths also affect sorting when you select a directory, so flatten a sequence spread across several subfolders if that would otherwise change the order. Watch for camera numbering that restarts after a card change.
Remove accidental duplicates and unrelated images. For a renovation sequence, keep the same view of the room together; dropping a close-up of a paintbrush into the middle will make the camera appear to jump. Save those detail shots for the finished edit instead.
If your phone images are HEIC, the free HEIC converter can prepare JPEG or PNG versions. Check the names and orientation after conversion before assembling the sequence.
Keep the important change inside the frame
Fit entire photo adds black space where the photo shape differs from the landscape video. Fill frame fills the video by cropping the edges. Neither option automatically follows a moving subject.
For a plant-growth sequence, compare the earliest and latest photos. A crop that fits the seedling can cut off the leaves once the plant grows. For a painting, keep the whole canvas visible throughout. Start with Fit if preserving the subject matters more than filling the frame.
The tool assembles the photos as supplied. It does not stabilise camera movement, align the subject or remove exposure flicker. If a few frames are much brighter or shifted sideways, correct those images first. For future captures, keeping the camera position, framing and exposure consistent gives you less to repair later.
Hundreds of images can be practical on many computers because the tool decodes them one at a time. The finished MP4 still uses browser memory. For thousands of large photos or a long export, a desktop workflow is more dependable.
Make the timelapse part of a finished video
A timelapse shows change. A complete video can also show what changed, why it matters and what the final result looks like.
Tellers is AI for video editing: give it your footage and describe the final video you expect. Add the exported MP4 alongside your before-and-after recordings, detail shots or spoken explanation. For a room renovation, try:
Make a 30-second renovation video from this timelapse and my clips.
Open with a clear view of the finished room, then show the starting
condition and the timelapse. Finish with the completed-room tour.
Use the close-ups between sections, not inside the timelapse.
Add the title "A room, rebuilt" and keep the edit simple.
Use only my supplied footage. Show me a first cut for review.
You can then ask for changes to the opening, titles or pacing, or adjust the timeline manually. The Tellers Basics series shows how footage and a brief become editable videos.
Make your photo timelapse for free, then open Tellers when you want to build the story around it. The free tool processes images locally; the full AI editor works in the cloud.
Frequently asked questions
How many photos do I need for a 10-second timelapse?
Multiply the target duration by the playback frame rate. At 24 photos per second, a 10-second video needs 240 photos. At 12 photos per second, it needs 120. These settings change how quickly the existing photos play; they do not create extra stages of the action.
Can I make a timelapse from HEIC or RAW photos?
Convert them to JPEG, PNG or WebP first. The Tellers photo timelapse tool accepts those three image formats. Keep the original files, and check that the converted images retain a consistent orientation and filename sequence.
Why does my photo timelapse jump or flicker?
Check for out-of-order files, duplicates, camera movement and changes in exposure or framing between photos. Playing the sequence faster does not correct those differences. Use a consistent crop and correct mismatched images before exporting; the timelapse tool does not automatically align or deflicker the sequence.