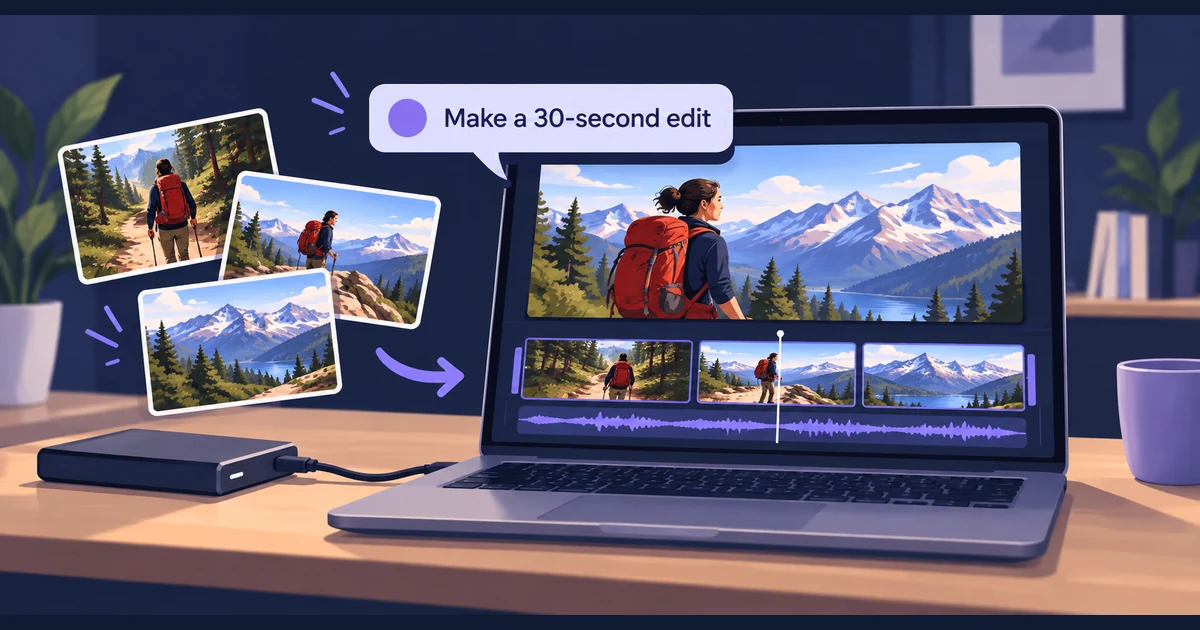
To edit local videos with an AI agent, give it access to your footage, add the Tellers editing skill, and describe the finished video. The agent builds an editable timeline; the Tellers player lets you watch the cut and export an MP4 in your browser.
This is useful when the clips are already on your computer and you want more than a single trim: a montage with a deliberate order, a music bed, a title and a few revisions. You can work with Claude Code, Codex, Cursor or another agent that supports skill folders and local file access. The Tellers skills page provides the starting prompt and setup options.
Watch the player in action
This Tellers AI demo, “We Made Video Editing FREE for AI Agents. Then Made This.”, was made with the Tellers player. The AI clips were generated with Tellers MCP, then assembled and treated with the player’s editing effects. Generating those clips is separate from the free local editing and rendering workflow.
The demo combines masks, tracking, colour effects, animated text, speed changes and audio effects. The timestamped previews below jump to the relevant chapters, so you can see more than a list of features.
For your own first edit, start smaller: turn footage from a day hike into a 30-second video without moving the edit into a cloud project.
Give the agent the footage and the finished-video brief
Open a project folder in your agent’s local environment and put the clips there, or point it to the folder that already contains them. Use a few descriptive names if you can: forest_trail.mp4, ridge_walk.mp4, summit_view.mp4 and music.wav communicate more than four camera-generated numbers. You do not need to pre-trim every shot.
Start with the instruction from the skills page:
Edit videos with https://github.com/tellers-ai/skillsThen give it the actual job:
Use the tellers-otio-player skill to make a 30-second landscape
video from the hiking clips in this folder.

Build the sequence from the forest trail to the ridge walk,
then finish with the summit view. Prefer steady sections and
give the final view time to breathe. Add the title "A day outside"
over the opening shot, then remove it before the first cut.

Use music.wav quietly underneath. Keep the original sound of
footsteps on the forest shot. Use simple cuts, with a short
audio fade at the end. Do not generate additional footage.

Keep my source files unchanged. Create an editable timeline
and open a local preview for me before the final export.
Replace the filenames and story with your own. The useful parts of the brief are the intended order, the sound you want to retain, and what the ending should feel like. “Make it cinematic” leaves all three undecided.
The local skill documentation specifies Python 3 and a browser for the preview workflow, with Chrome or Edge recommended. Let the agent check its setup and the media durations before assembling the edit. If it cannot inspect the footage, give it useful shot descriptions or selected time ranges rather than accepting guesses about what a clip contains.
Review the timeline in the player
The agent creates a .otio file describing the edit and serves it with your media on localhost. Think of that file as the editing instructions: which part of each shot to use, where it belongs, and which titles, effects or audio accompany it. The player reads those instructions and shows the result.
Open the local preview URL the agent gives you. Watch once for the overall sequence, then review the places where a decision matters: the first cut, the transition to the ridge, and the final view. Listen for abrupt changes between the footsteps and music. A file that exports successfully can still have a weak ending or an audio cut in the wrong place.
Give feedback about the result you want:
The forest section takes too long. Shorten it by two seconds
and give those two seconds to the summit view. Keep the total
at 30 seconds. Let the footsteps fade out under the first ridge
shot, and make the opening title smaller. Update the preview.
This is where an editable timeline helps. You can change the pacing, title and mix together without asking for a new video generation. The source clips remain the material for the next version.
Effects you can ask your agent to use
The player supports more than arranging clips. These previews start at the chapters published by Tellers AI in the demo’s YouTube description. Use them to choose a direction, then ask your agent for the effect you want on a particular shot.
00:31 — Masks, face tracking and motion
Use masks to isolate part of a picture, tracking to follow a subject, and keyframes to animate position, scale or rotation. That can mean placing text behind someone or keeping an effect on a moving face. Subject detection and outline masks need a capable GPU for usable speed.
01:06 — Colour grading and visual effects
The player offers LUTs and colour adjustments, grain, blur, pixelation and RGB split. Use a grade to bring shots together, or a short RGB split to emphasise a moment. You can change the treatment on the timeline without regenerating the source clip.
01:33 — Animated text and graphics
Animate a title with typewriter or word-reveal effects, highlight words in karaoke style, or layer an animated SVG over the footage. Keep the text editable so a new headline does not require a new video generation.
01:42 — Speed controls and transitions
Speed ramps, reverse and freeze frames change the timing within a shot. Dissolves, wipes, pushes, slides and zoom transitions shape the move between shots. Choose them around the action or music rather than adding a different transition to every cut.
01:55 — Stereo and audio effects
Control volume, fades and stereo pan, and use keyframes to lower music beneath speech. Picture and sound can be adjusted together, so the visual accent and the audio emphasis land at the same point.
The full effects and timeline reference documents the available controls. For the hiking montage, you might only need one restrained effect:
On the final summit shot, add a very slow zoom that keeps the
hiker and mountain peak inside the frame. Start at the current
framing and finish only slightly closer. Keep the horizon level.
For a launch video, the equivalent might be a closer view of the button being demonstrated. For an interview, it might be a short title identifying the speaker. Our product demo editing guide covers decisions that make screen recordings easier to follow.
Preview the changed section before adding more. Layered effects and high-resolution media require more from your machine; simpler previews are useful while deciding the cut.
Export the video and keep the edit
When the preview works, use the player’s Export control, or ask an agent with browser control to save the export into the project folder:
Export the approved timeline as hiking-montage-v1.mp4 at 1080p.
Keep the timeline and all source media so we can revise it later.
Check the exported file's duration and confirm that it has audio.
Keep the browser tab open while it renders. Then watch the exported file itself, including the ending. Check that the title is legible, the image fills the intended frame, and the sound survives the export.
Save the .otio file alongside the media it references. Moving or renaming those files can break the preview unless the agent updates the timeline’s paths. For a second version, ask it to duplicate the timeline and preserve the approved first edit.
If the preview is black, silent or slow
These problems usually need a specific fix, not a completely new edit:
- A black clip: ask the agent to run the skill’s timeline checker and verify that the media URL loads. The browser needs a served media path; a raw disk path inside the timeline will not work. An unsupported codec may need conversion.
- Missing camera sound: ask it to check the audio tracks. In the Tellers timeline, placing a clip on a video track supplies the picture; its sound needs an accompanying audio clip.
- A page opened as a file: use the agent’s
localhostURL instead of double-clicking the HTML file. The player needs a local server to fetch the timeline and media correctly. - Choppy playback: reduce preview resolution or use lighter media while reviewing. Rendering speed depends on the machine, source files and effects; there is no fixed export time for every project.
Why use paid Tellers if the player is free?
The free player handles local preview and rendering. Tellers adds the production workspace around the edit: give it your footage, describe the final video you expect, and work with an agent built for that workflow.
- Collaboration and enterprise features: work with your team on shared production rather than passing local folders and agent conversations around. Discuss your organisation’s requirements with Tellers when choosing an enterprise setup.
- Budget management: set token budgets for tasks and follow usage as you work. Keep the cost of an edit visible, especially when it includes generated media.
- Automatic social publishing: connect your social accounts and have Tellers post the finished videos, keeping editing and distribution in the same workflow.
- Storage and instant moment retrieval: keep a searchable video library and find the relevant shot or spoken passage without manually scrubbing through every recording. Indexing prepares the footage for retrieval, so the next edit can reuse that work.
- Generation alongside editing: create missing video, images, voices, music and sound effects through Tellers’ hosted tools. This is how the AI clips in the demo were generated through MCP before being edited with the player.
For recurring production, Tellers can also make editing cheaper than spending Claude or Codex tokens repeatedly analysing footage and rebuilding context. An indexed library lets the agent retrieve the relevant moments instead of reconsidering an entire recording for every task. Budget controls help keep that workflow predictable. The saving depends on your footage, the work requested and your assistant’s billing; a short local edit may still be all you need.
See Tellers pricing for the current offer and our guide to managing AI editing costs for practical ways to reuse context and control generation spend.
The skills repository also documents a separate Tellers MCP integration for cloud projects and a CLI transfer workflow for local edits. Transfer may require adapting timeline elements, so check the resulting project before continuing work.
For the hiking montage, start with what is already on your computer. Open Tellers skills, give your agent the brief, and review the first cut before polishing it.
Frequently asked questions
Can Claude Code or Codex edit a video on my computer?
With the Tellers local editing skill and access to your project folder, an agent can build and revise a timeline from your media. The Tellers player previews and exports that timeline in your browser. Use an agent environment that can access those files; a separate remote workspace cannot automatically see footage on your laptop.
Is local video editing with Tellers skills free?
The local Tellers player is free and does not require a Tellers account. Your AI assistant may have its own subscription or usage charges. Connecting to Tellers cloud services is a separate workflow.
Does my footage get uploaded to Tellers?
The local player workflow serves media from your computer and renders in your browser without uploading it to Tellers. Your AI assistant has its own data handling: check its settings before asking it to analyse sensitive footage, transcripts or extracted frames.
Can I keep editing after exporting the MP4?
Yes. Keep the .otio timeline and its source media, then ask the agent to change the timeline and export a new version. The MP4 is the finished output; the timeline and media are what let you revise individual shots, titles and audio.
Does the player work offline?
The default setup loads the player from tellers.ai, so it needs internet access. Offline playback and rendering require a local player bundle and all required media, fonts and models. That does not make a cloud AI assistant available offline.