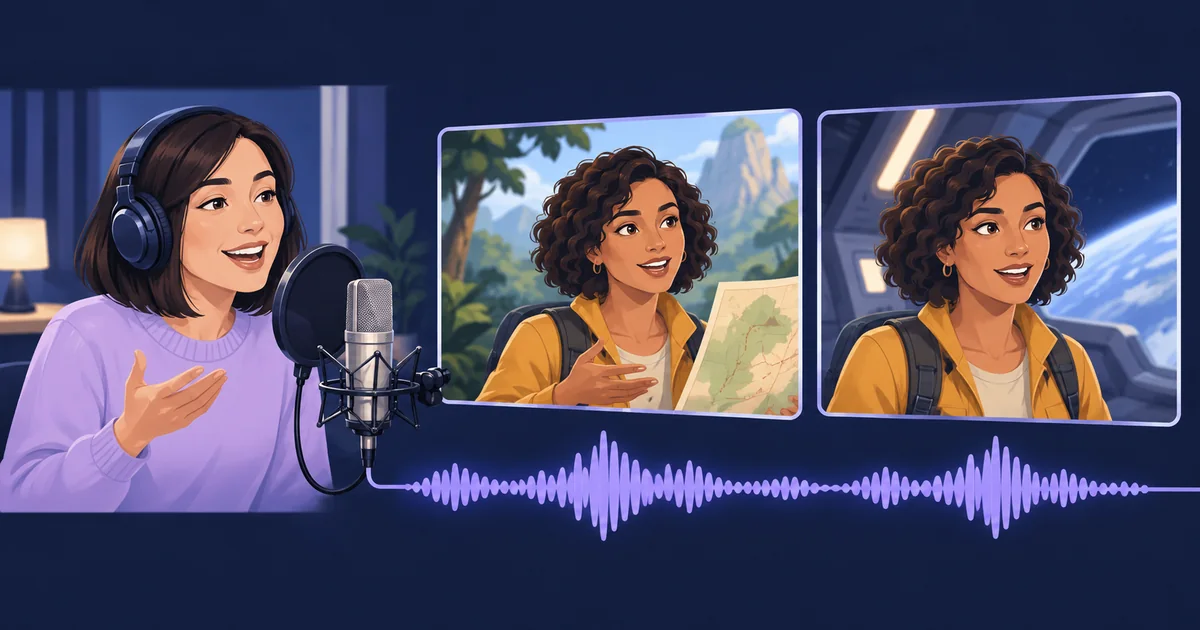
Your character looks the same in every shot, but sounds like a different person each time. The accent shifts, the voice becomes deeper, or a line suddenly arrives in a polished announcer’s tone. Put those clips together and the scene stops feeling continuous.
To keep a voice consistent across AI-generated videos, give the model something reusable: a voice recording, an approved soundtrack, a precise character description or a supported voice ID. Which one to use depends on whether you want a new performance in a familiar voice or the exact delivery you have already chosen.
That distinction matters particularly for recurring presenters, animated characters and scenes with several speakers. Here are four ways to handle it, including an audio-first workflow using Tellers’ new timeline audio export.
1. Give each character a named voice reference
A voice reference tells the model what a character should sound like. It is not the final dialogue track: the model generates a new performance guided by the sample, rather than simply playing the uploaded recording.
Use a clean clip with one speaker and name it after the character: Maya_voice_reference.wav, for example. Choose a delivery close to the character’s usual speaking voice, without music or another speaker competing with it. Keep using that same file instead of choosing a fresh reference for every scene.
Then explicitly connect the person, the reference and the line:
Maya is the explorer in the yellow jacket in the reference image.
Use Maya_voice_reference.wav as the voice reference for Maya.
Generate new dialogue in a similar voice, keeping her accent,
vocal texture and natural speaking pace.

She looks at the map and says:
"The signal is coming from the other side of the valley."

Use the sample for her voice, not as the dialogue to replay.
No other character speaks in this shot.
Seedance 2.5 supports audio references in its multimodal reference workflow. Our guide to Seedance 2.5 capabilities and reference prompts explains how to assign character images, voices and other references. A descriptive filename helps you and the Tellers agent identify the right asset; the reference must also be attached to the generation and mapped to the character. Renaming a file alone does not bind a voice.
For two speakers, provide separate samples and name each speaker on every line. Avoid instructions like “they talk in the reference voices,” which leave the assignment unclear. In the next shot, reuse the same mapping even if only one character appears.
This method leaves room for the model to perform the dialogue naturally within the scene. It also leaves room for variation. Listen to adjacent clips back to back before generating the whole sequence; a similar voice is not a guarantee of an identical one. If the exact pronunciation, pause or delivery matters, create the audio first.
2. Compose the audio first, then generate video for it
With an audio-first workflow, you approve what the audience will hear before generating what they will see. Record the lines yourself, use real voice recordings, generate them with TTS, or combine those approaches. Give each character a consistent voice, arrange their lines, and set the pauses and interruptions on the timeline.
Now the video model has a concrete performance to follow. You are asking it to match existing speech and timing, rather than invent another rendition from a reference.
Export the scene’s audio from Tellers
Tellers is AI for video editing: give it your footage and assets, and simply describe the final video you expect. For generated scenes, those assets can include the voices, character images, music and effects you want to build around.
The Tellers agent can now export the audio from a subsection of a timeline. That lets you compose several voices and sounds together, then turn the relevant section into one audio input for a compatible video model. You can prepare a conversation across separate tracks and export just the exchange needed for the next shot.
For example, arrange a short scene with Maya asking a question, a pause while Leo checks an instrument, and Leo’s reply. Listen to the exchange before generating video. If the pause feels too long or the reply sounds wrong, fix the audio while the scene is still easy to change.
Then ask:
Export the audio from 00:12 to 00:20 of this timeline.
Include Maya's and Leo's voice tracks only, with their current
timing and the pause between their lines. Leave out music and SFX.

Use that export as the soundtrack for audio-driven video
generation, not as a voice-style reference. Use a compatible
model such as LTX audio-to-video.

Maya is on the left in the yellow jacket; Leo is on the right
holding the instrument. Maya speaks first, then Leo replies.
Keep the listener's mouth still while the other person speaks.
Match the visible delivery to the supplied audio.

Place the result at the same position in the timeline and keep
the approved dialogue as the final audio, without doubling it
with a second copy from the generated clip.
The timestamps are an example; use the boundaries of your actual scene. For a longer sequence, export manageable sections that fit the chosen model’s limits and preserve the pauses at the cuts. Audio-driven generation still needs review: check that the right person speaks, lips follow the line, and the generated action fits the timing.
Use voices alone or the full mix?
For a conversation or presenter, start with only the voice tracks. The model gets a clear speech signal, and you can add or adjust the background music afterward. Keep both voices in the export when their timing matters to the exchange; “voices only” does not mean “one speaker only.”
For a dance, music video or visual effect timed to a sound, the full mix can be the more useful input. A dancer needs the rhythm; an impact needs its cue. Include the sounds that should shape the picture, and describe the intended connection:
Export this eight-second section with the music and impact effect included. Generate a dancer moving to the beat, with a burst of light at the impact at six seconds. Use the mix to drive the timing of the video.
Do not expect an audio cue alone to specify the visual event. A crash could suggest many different actions; the prompt tells the model which one you want. Keep the separate source tracks in Tellers even when exporting a combined input, so the final mix stays editable. Our guide to AI sound effects for video covers building those layers.
Which models accept audio to drive the video?
The following options document an input-audio workflow as of October 21, 2026. These are model capabilities; the exact versions and controls exposed by a particular app or integration can differ.
| Model or workflow | How it uses your audio | What to watch for |
|---|---|---|
| LTX-2.3 Pro; LTX-2.5 Fast and Pro | The audio-to-video endpoint takes a soundtrack and generates visuals for it, optionally with a reference image. | Clip length comes from the audio. Duration limits vary by model and resolution; LTX-2.3 Fast is not listed for this endpoint. |
| Pruna P-Video and P-Video-2 | Accept an audio file to condition video generation. With audio supplied, its length determines the duration. | Choose the audio-conditioned workflow. Native sound generation without an input file is a different task. |
| Wan 2.5 and Wan 2.6 image-to-video | Accept a custom audio file and support making a character in an image speak or sing in sync with it. | Confirm that the chosen endpoint exposes custom audio. Do not assume every Wan variant has the same inputs. |
| Pruna P-Video-2-Pro-Reference | Can keep a supplied audio file as the soundtrack and generate matching video when its audio-preservation option is enabled. | Requires exactly one audio file for that option, plus an image or video reference. Match the requested duration to the audio to avoid a cut or generated continuation. |
For the LTX workflow, its audio-to-video reference explicitly describes the input file as the soundtrack. That is the distinction to look for when choosing a model. An “audio reference” upload, by itself, does not promise that your recording will remain unchanged.
For narration over scenery or product footage, you may not need audio-driven generation at all. Keep the approved voice-over on the Tellers timeline and edit the visuals around it. Use audio-driven video when the performance in the picture needs to follow the recording.
3. Reuse a precise voice description in every prompt
When you have no reference clip or saved voice, define the character’s voice in words. This is the most portable approach for models that generate speech and accept voice direction in their prompts. It does not add speech to a silent video model, and different models will interpret the same description differently.
Describe the qualities that distinguish the speaker: pitch range, vocal texture, accent, pace and articulation. Separate those stable qualities from the emotion of an individual line.
Maya's voice, unchanged across scenes:
Adult woman, medium-low register, warm and lightly husky tone,
British English with a light London accent, measured pace,
clear consonants, conversational delivery rather than narration.

Leo's voice, unchanged across scenes:
Adult man, medium register, bright and slightly nasal tone,
General American accent, brisk pace, short natural pauses.

This shot:
Maya speaks quietly but keeps her usual voice and accent:
"The signal is coming from the other side of the valley."
Leo listens without speaking.
Save that character block and reuse it verbatim. Change “speaks quietly” to “calls across the room” when the scene requires it, while keeping the underlying voice description stable. Avoid rewriting the same character as “a deep cinematic narrator” in one shot and “a light, cheerful presenter” in another.
This gives the model a narrower target, but it still generates a new interpretation each time. Use it for exploration or when some variation is acceptable. Once you find a voice you want to keep, save a clean sample and move to a reference or audio-first workflow.
4. Reuse a supported preset or registered voice ID
Some systems expose a built-in voice library; others let you register a sample and reuse the resulting voice ID. This approach also exists in older model workflows, so a text prompt is not always the only consistency control available.
Kling provides a concrete example: its voice-management documentation distinguishes official library voices from user-created voices. When your chosen model exposes voice selection, select the saved voice in the generation settings and keep the assignment stable throughout the project.
Describe that assignment clearly in your brief:
Use Maya's saved voice for the explorer in the yellow jacket.
Maya says:
"The signal is coming from the other side of the valley."
The instruction depends on a voice actually being selected in the generation settings. A saved voice name is not a universal identifier that another model will recognize. Check the language and voice-control support of the exact model you use. A saved voice helps preserve the speaker; it does not freeze the rhythm and expression of every new line.
If you are starting a recurring character in Tellers, ask the agent to help establish the voice before producing the whole sequence. Choose a reference when you want new performances in a familiar voice. Compose and approve the audio first when the delivery itself is part of the edit, then use the timeline export to generate the picture around it.
Frequently asked questions
How do I keep the same voice across AI-generated video clips?
Reuse a named voice reference for the same character in every generation, or create the dialogue first and generate video driven by that audio. A supported voice ID is another option. Repeating a detailed voice description can help, but gives the model more freedom to reinterpret the speaker.
Does an audio reference preserve my exact recording?
Not necessarily. A voice reference guides the sound of a newly generated performance. To keep the original words, pauses and delivery, use an audio-driven workflow that treats your file as the soundtrack, then retain that approved audio in the final edit.
Should I include music and sound effects when generating video from audio?
Use dialogue alone when the goal is clear speech and lip-sync. Include music or effects when they drive the visible action, such as dancing, a musical performance or a timed impact. Keep the original tracks separate in your editing timeline so you can revise the mix afterward.